Thursday, May 26, 2011

SewMamaSew Giveaway Winners

I can't believe I waited so long to post the SMS giveaway winners... Sorry about that folks! So without any further procrastination, here are the winners:
 
Beth said "LOVE the camera strap - the clutch is fabulous too!" Beth has a lovely blog over at The Modern Lady, where she sews and crafts, I would totally recommend popping over and checking her out. Congrats Beth!

Megan said "Love the flower on the clutch and the material reminds me of the pair of "train engineer's" overalls I used to wear a long (and I mean long) time ago."  That is so funny, I have a picture of me at 3 years old wearing a pair of these too. Megan lives in beautiful Lake Louise, Alberta which is a spectacular place to visit if you ever get a chance. Yay Megan!

Your packages are in the mail, with some added chocolate. I would have liked to have mailed these sooner, but I wanted to wait and see what was happening with the postal strike.

Thank you to everyone who stopped by my blog during the Sew Mama Sew Giveaway week. It is always so exciting to get such wonderful comments from so many people.

Monday, May 23, 2011

Sew Mama Sew Giveaway Day is Here!

 
The Giveaway is now closed. I will be posting the winners as soon as they have been contacted. Thanks to everyone who left such kind comments, I hope to see you all again soon.
 
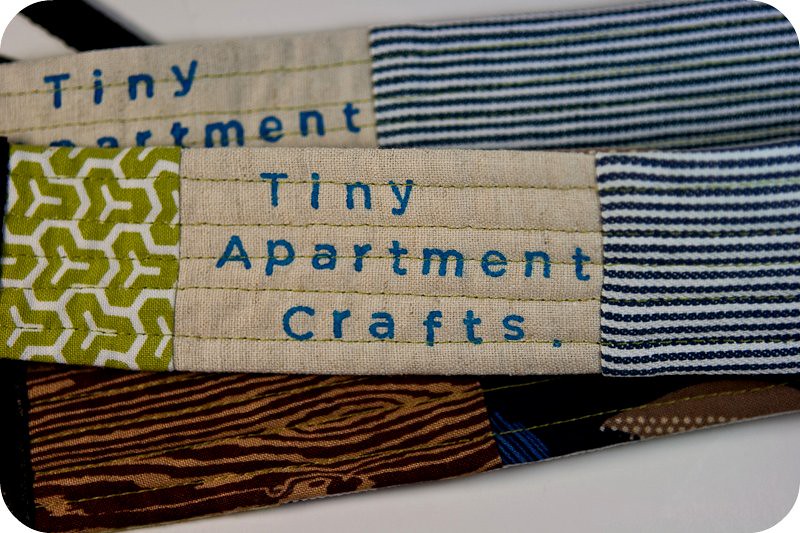
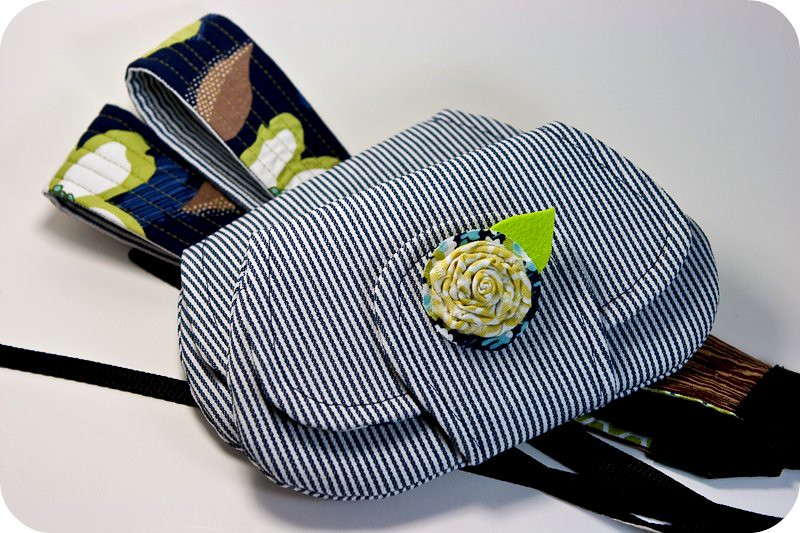
Happy Giveaway Day! I am sure you are visiting a lot of new crafty blogs today, so thank you very much for stopping by Tiny Apartment Crafts. I am giving away 2 handmade clutches, each with a matching SLR camera strap and a fabric flower pin. Anybody can enter, this giveaway is open to international entries. Winners will be chosen from the comments by random number generator at the end of the day on May 25th and contacted by email as soon as possible. There are no hoops to jump through, but please follow the entry instructions at the bottom of this post carefully so that you don't miss out on your chance to win.

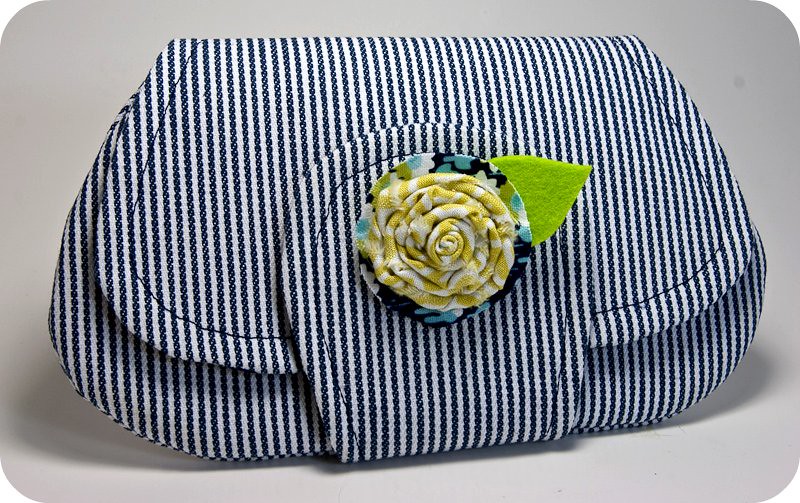
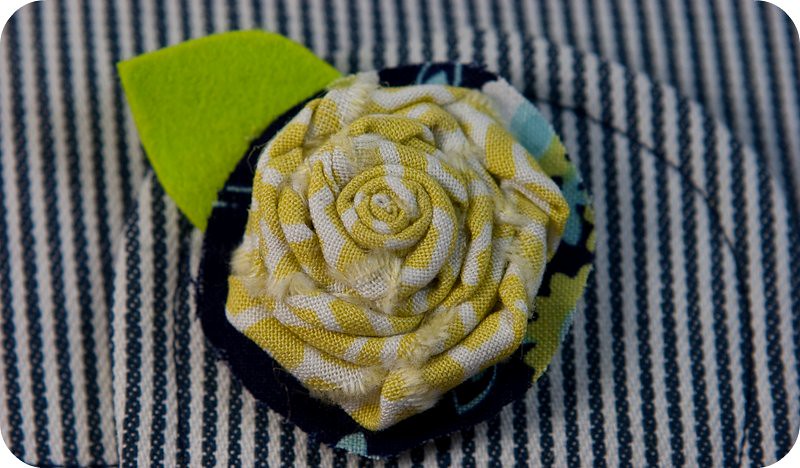
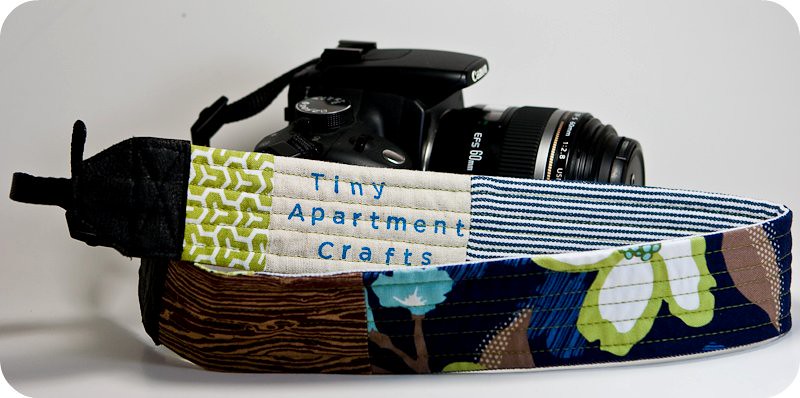
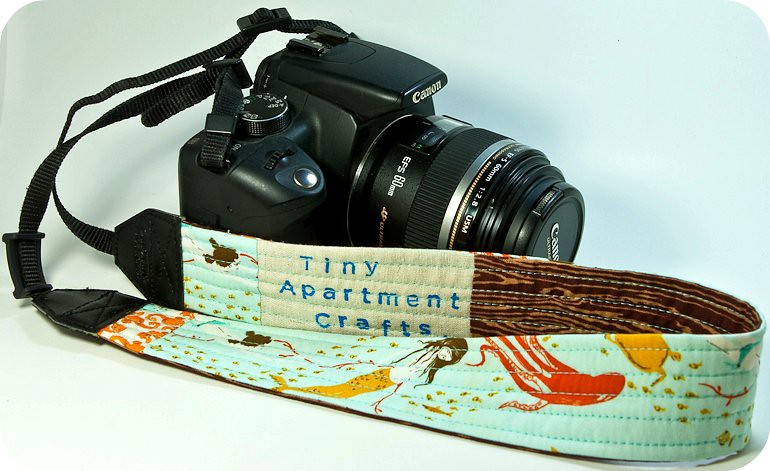
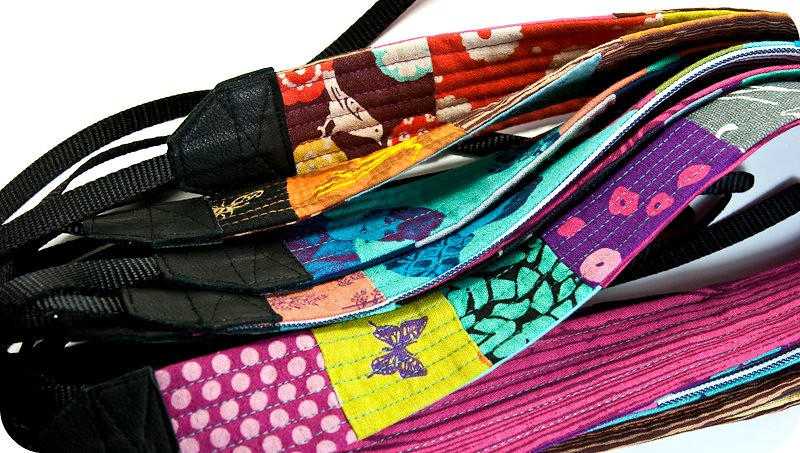
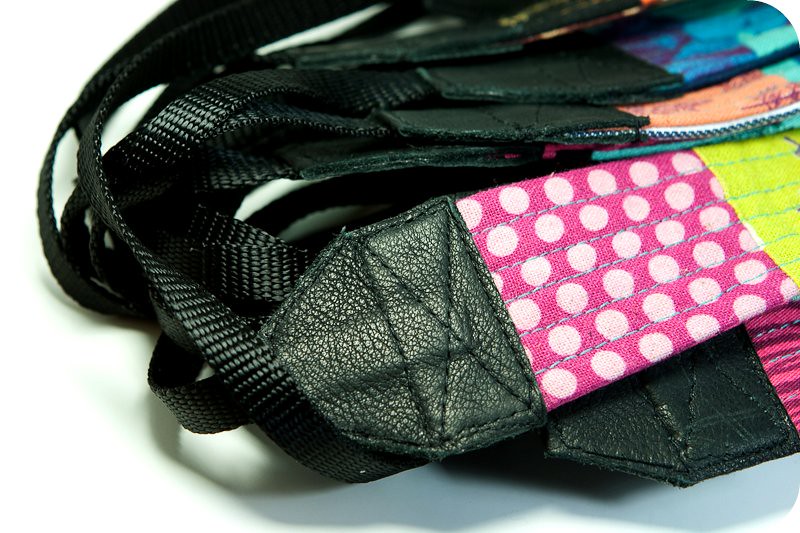
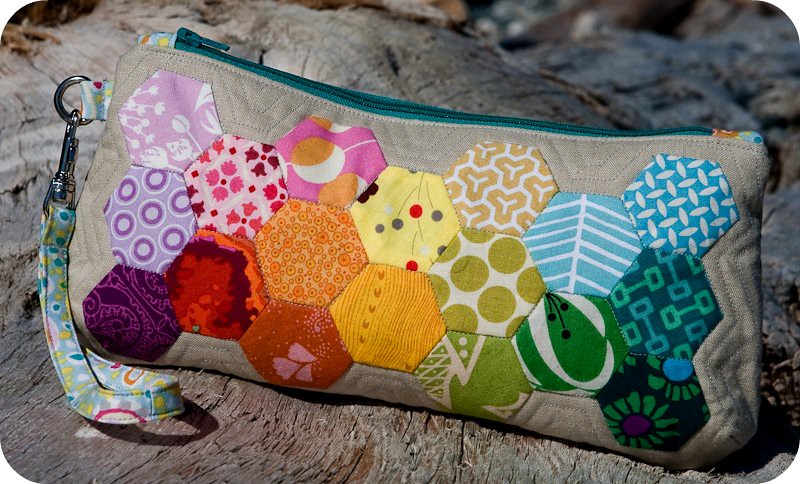
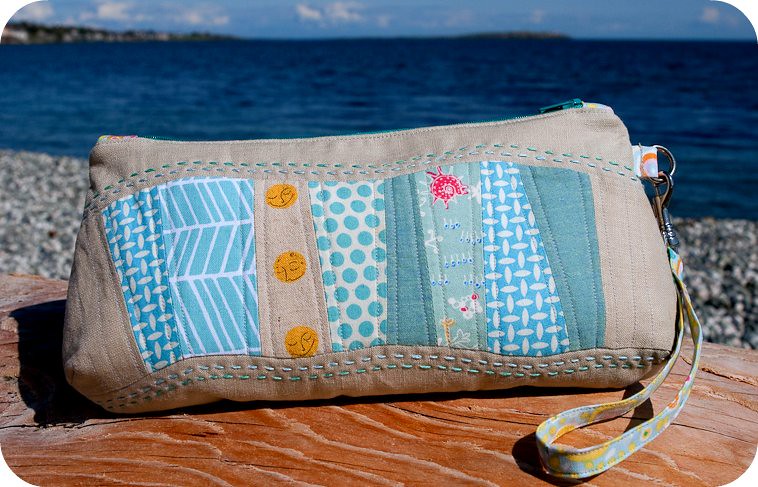
This giveaway was organized by the wonderful people at Sew Mama Sew; click the giveaway button on my sidebar to see a complete list of all the participants.
The clutches were made using the adorable Pocket Clutch pattern from Keyka Lou. I adore her patterns, the unique shapes and the detailed instructions that always work out perfectly. If you are interested in sewing up one of these clutches for yourself, Milky Robot has a 20% discount code here good until May 27! The outside of the clutch is blue and white cotton ticking, decorated with a removable rolled fabric flower pin. I found a cute tutorial for this flower at My Sparkle.
 The inside of the clutch has 2 generous pockets and is lined with some of my favourite Joel Dewberry Modern Meadow print (I even used this print to make my blog banner!). I used a small gold coloured magnetic snap closure, which holds everything very securely. The body of the clutch is double lined with both sew-in woven interfacing and cotton batting so it is very sturdy and holds its shape.
The camera straps are based on a pattern I made from the original Canon strap which came with my Rebel XTi. The cotton strap is 23 inches long and about 1.5 inches wide, quilted with a layer of cotton batting so that is it soft and comfortable. The nylon webbing is 13 inches long and a standard 3/8" width that should fit most SLR-type cameras. To use, just remove the original locking sliders from your old camera strap, slide them onto the new strap and adjust the strap to fit. They are very secure, and the real leather ends have been both glued and stitched in place so that they won't come apart.
If you are interested in making your own custom camera strap, please check out my previous post for more detailed instructions.
Thanks again for visiting and good luck!

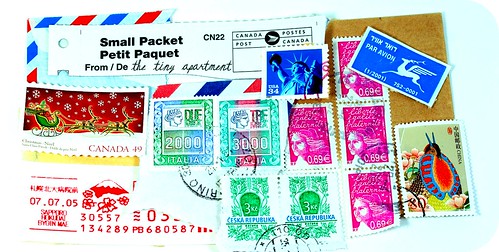
PS: Canada Post seems to be threatening to strike on Tuesday May 24th. What terrible timing! If that happens, and it isn't resolved by May 30th, I will contact the winners to let them know of the delay in mailing their goodies. I might also add a little something to their packages to make up for the wait, and I might have a third wild card draw for a surprise gift when the strike ends (if it even happens). So who knows, maybe this unfortunate turn of events could get you an extra present in the mail :)

Thursday, May 19, 2011

Handstamped Labels and Custom Camera Straps

I did some old fashioned typesetting this week! It seems like I have wanted to make some custom labels for myself since the beginning of time. Why didn't I do it before? It is a very rewarding and fast project. I made a whole stack of custom labels, mostly using extra rectangles from this project (I really got carried away cutting rectangles of neutral fabrics - I had about 100 too many). I used a sans-serif clear acrylic stamp set from Martha (of course), to typeset my labels. It was tricky to get the alignment perfect, but I reason the slight irregularities just add personality. It was also tricky to recognize some letters backwards - lowercase "a", I am talking to you.
 I wanted my fabric labels to be permanent and washable, but I didn't have stamp pads meant for fabric, so I decided to make my own. I used Speedball t-shirt screen printing ink, but I think you could use any medium consistency fabric paint you already own with this method. I squeegeed the ink with a smooth edged butter knife into a small piece of acrylic felt. I went over the inked area several times, removing extra ink until I had an evenly saturated, but not gloopy or wet, stamp pad. The ink will go right through in some places to the other side of the felt, so be sure to do this on a piece of cardboard or some tinfoil to protect your workspace. I kept the pad covered with a piece of plastic wrap when I wasn't using it, and I was able to get about 30-40 stamps out of it before I thought it needed replacing/reloading. Making your own stamp pad means you don't have to buy a new craft item you might not use very often, and also, you can mix the colours of fabric paint you have to make any hue you want. I don't think they keep though, I threw mine away after I was finished. When you are done stamping, dry your labels and set them using the ink's directions.
Don't they look nifty? I have to admit, some of them were not as perfect as I would like, but after playing with a real commercial stamp pad later, I think this mainly boils down to technique; my stamping skills are sadly lacking.

Of course, armed with a stack of freshly minted labels, I had to come up with a fun (and branded!) sewing project to use them in. What did I make? Camera Straps! This one is mine:
I have been saving this pretty Heather Ross print for a special project and the mermaids and sealife swimming across the strap look so cute. The back of the strap is pieced with a label printed in blue on natural linen and some of Joel Dewberry's new woodgrain fabric. My strap is lined with one layer of cotton batting to make it quilted and soft. I followed the basic idea from a camera strap tutorial over at My Sewcial Hour. I picked the stitches from my original camera strap, pried it apart, inserted my new strap into the pleather end pieces and sewed over the original stitching lines....
And then I made 10 more! These are pretty addictive to make: quick, pretty patchwork that looks both professional and useful. To make them from scratch, you will need 3/8" nylon webbing, a small piece of leather or vinyl, contact cement, and a leather sewing machine needle. You will also need the proper 3/8" locking sliders, or you could get your friends to use the original hardware from their old straps on their fancy new ones. 

Make your straps however you like, topstitching them to reinforce the strap and keep the seams from rolling. I tried to taper the last inch of the strap ends slightly so that it would tuck into the end pieces neatly. Cut 2 pieces of the webbing to the same lengths as on your original strap, finish one end of each by holding it to a flame. Then use some tracing paper to make a pattern for the leather end piece, placing the narrow end on a fold line. When you cut out your leather (or vinyl) the resulting shape should be like little bow-ties. Cut a center slit to fit your nylon webbing and slide it into the end so that the webbing is 1/4" from the inside edge. Coat the inside of the leather piece and ~1/2" of the end of your handsewn strap (both sides) with contact cement. Let dry about 10 minutes before carefully assembling and pressing everything together tightly. Sew around the edges of the end peice and also sew a box with an "X" that goes over both the webbing and the strap. It is important to sew through all the layers like this so that your new strap is secure and won't ever drop your camera.
I am participating in the Sew Mama Sew Giveaway next week, and I will include some camera straps like these, so if you would like one, please come back on Monday, May 23!

Sunday, May 1, 2011

Pretty {little} Pouch Swap

 
 I made this cute little zippered pouch for my very first secret swap partner. Tomorrow I am going to package it up with a few little surprises and send it off across the globe to its new home. I love the idea that someone right now is making something special for me too... Secret Swaps are like surprise birthdays! It's all very exciting, I think I might be addicted.

The Pretty {little} Pouch Swap was organized by Michelle Lizcano of I Like Orange, Too! and Kelly from KelbysewsIts a wonderful group, everyone in the swap has been so involved and it is like a storm of inspiration over there. Besides the creative fun, there is also the fun of internet stalking your swap partner and trying to decipher from little snippets of information what they really want. I think that my partner likes rainbow piecing. I'm not really giving away too much saying this because rainbow pieced projects may actually be turning into some sort of internet meme for the quilty/crafty set. I know that they feature heavily in my own Flickr favourites, which sort of surprised me, but who can resist beautiful colours? No one. That's who. I had a really good time pulling fabrics from my stash and arranging them into an attractive ROYGBIV. I had an even better time sewing them together into tiny hexagons.
The back of the pouch was inspired by the ocean. I free-pieced the aqua stripe and then cut it into a gentle wave. The tricky part was the curved piecing of the linen strips, but with a lot of pins, it worked out on the first try. I added some rows of handstitches to accentuate the wave pattern. My favourite part of the back are the sleepy moons from Heather Ross's Far Far Away 2.
 The inside of the pouch has a little label (sorry, pictures would give too much away!) which I made using a fine sharpie paint pen and a little square of white muslin. It took a some practice to write on the fabric without pausing and making ugly blobs, but once you get it right, it makes a really lovely permanent label. I found that taping my square of fabric down on a piece of cardboard made writing easier. Then I just folded and ironed all the raw edges to the back and sewed it to my lining fabric. If you were in a hurry (or if you forgot to make a label before your project was finished) you could use a little row of steam-a-seam tape instead.

The sun seems to finally be making regular appearances in the sky nowadays, hopefully this will lead to more pretty beach photos. Happy belated spring everybody :)