I did some old fashioned typesetting this week! It seems like I have wanted to make some custom labels for myself since the beginning of time. Why didn't I do it before? It is a very rewarding and fast project. I made a whole stack of custom labels, mostly using extra rectangles from this project (I really got carried away cutting rectangles of neutral fabrics - I had about 100 too many). I used a sans-serif clear acrylic stamp set from Martha (of course), to typeset my labels. It was tricky to get the alignment perfect, but I reason the slight irregularities just add personality. It was also tricky to recognize some letters backwards - lowercase "a", I am talking to you.

 Don't they look nifty? I have to admit, some of them were not as perfect as I would like, but after playing with a real commercial stamp pad later, I think this mainly boils down to technique; my stamping skills are sadly lacking.
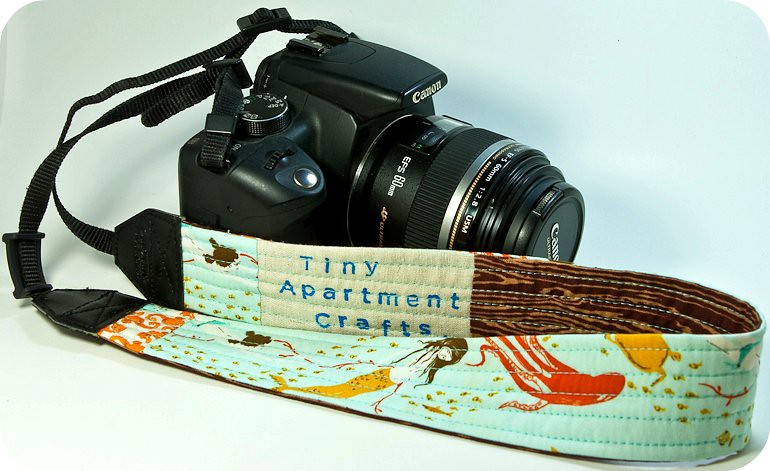
Of course, armed with a stack of freshly minted labels, I had to come up with a fun (and branded!) sewing project to use them in. What did I make? Camera Straps! This one is mine:
I have been saving this pretty Heather Ross print for a special project and the mermaids and sealife swimming across the strap look so cute. The back of the strap is pieced with a label printed in blue on natural linen and some of Joel Dewberry's new woodgrain fabric. My strap is lined with one layer of cotton batting to make it quilted and soft. I followed the basic idea from a camera strap tutorial over at My Sewcial Hour. I picked the stitches from my original camera strap, pried it apart, inserted my new strap into the pleather end pieces and sewed over the original stitching lines....
Don't they look nifty? I have to admit, some of them were not as perfect as I would like, but after playing with a real commercial stamp pad later, I think this mainly boils down to technique; my stamping skills are sadly lacking.
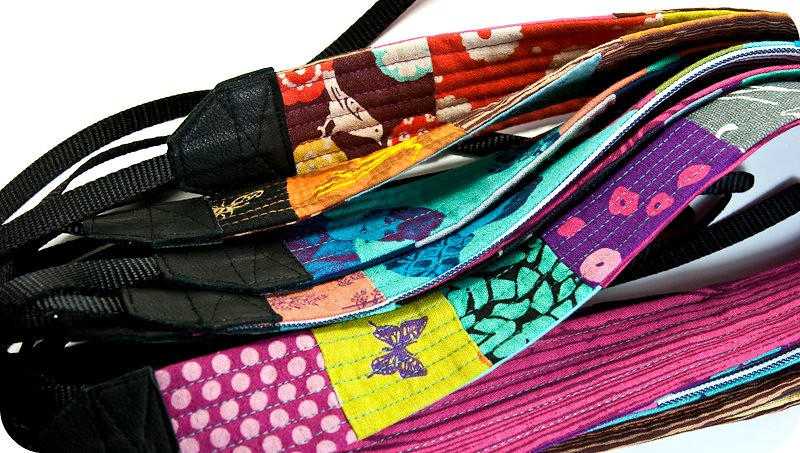
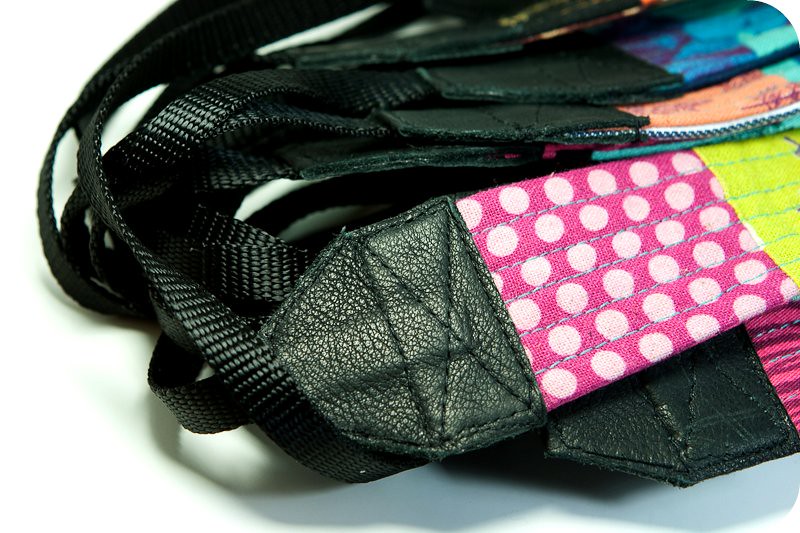
Of course, armed with a stack of freshly minted labels, I had to come up with a fun (and branded!) sewing project to use them in. What did I make? Camera Straps! This one is mine:
I have been saving this pretty Heather Ross print for a special project and the mermaids and sealife swimming across the strap look so cute. The back of the strap is pieced with a label printed in blue on natural linen and some of Joel Dewberry's new woodgrain fabric. My strap is lined with one layer of cotton batting to make it quilted and soft. I followed the basic idea from a camera strap tutorial over at My Sewcial Hour. I picked the stitches from my original camera strap, pried it apart, inserted my new strap into the pleather end pieces and sewed over the original stitching lines....


I made shoes! I really wanted to tell you about these but I had to wait until after Christmas. This project was so satisfying. I have made a lot of different things in the past, but walking around in your own shoes (even if you can only wear them in the house) is so neat. And I made 6 pairs! One prototype for me and then all these beautiful ones for my best friends and family. Before this project I had no idea how small the difference was between shoe sizes. It works out to only a 1/4" difference, so if you try making multiples, I would recommend storing each size in a separate bag to keep them organized through each step. I accidentally sewed size 7 uppers to size 5 soles and size 5 uppers to size 7 soles and ruined 4 shoes with one mix-up! Actually, there are lots of things to be careful of here, as you have to not only pay attention to wrong/right sides, but also left/right sides. Learn from my fail!
I found the pattern for the kimono shoes at ithinksew. They have lots of other cute patterns including these boots! The directions include sizes 5-10, as well as photos and are easy to follow. For me, the tricky part of this project was fitting the uppers to the sole. If you have ever tried to sew a shirt, it is sort of like setting a shoulder. But with a little clipping and shifting it works out every time. I used a really soft sheepskin for the soles, which makes them nonskid and a little more durable. If you try making these shoes with leather soles, use small binder clips to hold the upper and sole together. Also, as you only sew one layer of thin leather, I don't recommend "leather/vinyl" needles. They don't work as well as a regular "sharps" size 12 needle, which makes smaller holes and sews smoother, with no skipped stitches.
I found the wonderful soft sheepskin leather for my shoes at Leather World, in Victoria, BC. I had never bought a whole hide before (I usually use re-purposed old leather garments). The staff at the store were really friendly and helped me choose the right type of leather. After much searching I settled on a particular hide. Its only flaw was was a small hole in one spot. I mentioned this to my helper, she laughed, and said "Well they all have a hole somewhere". I was looking at bullet holes.
After a lot of experimenting, I found that I liked the soft structure and feel of a single layer of cotton quilt batting to line the uppers, but double layers of a dense poly batting for the insoles, as it seemed to compress less after wearing them around.
The inside of these shoes is lined with a cushy aqua cotton chenille. The print (which I am in love with and even used when I made my blog banner) is from the Modern Meadow line by Joel Dewberry. I have some more in my stash and I may even try to make a quilt from it someday! You might notice that it looks like I used the meadow print the wrong way around on most of my shoes. I considered putting it the other way, but really, when you look down at your own feet, the print looks the right way up; and if you are like me and looking down at your own feet in cute shoes makes you happy, you want to see the print the right way up too. After all, they are really only there to please you.


 Don't they look nifty? I have to admit, some of them were not as perfect as I would like, but after playing with a real commercial stamp pad later, I think this mainly boils down to technique; my stamping skills are sadly lacking.