
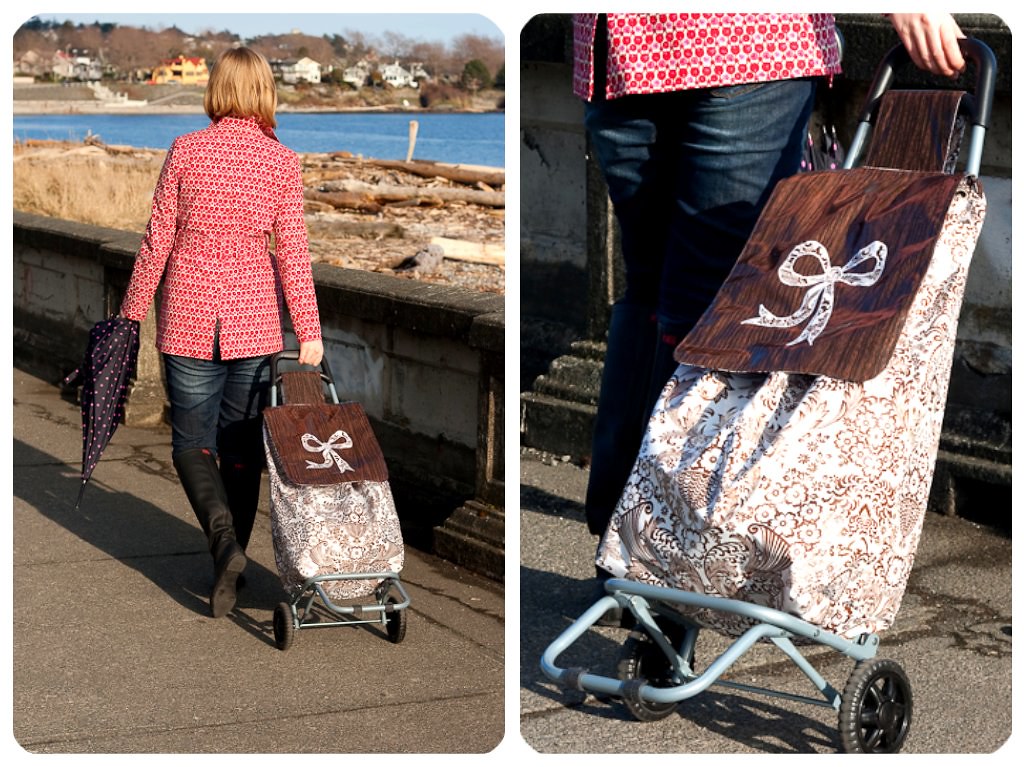
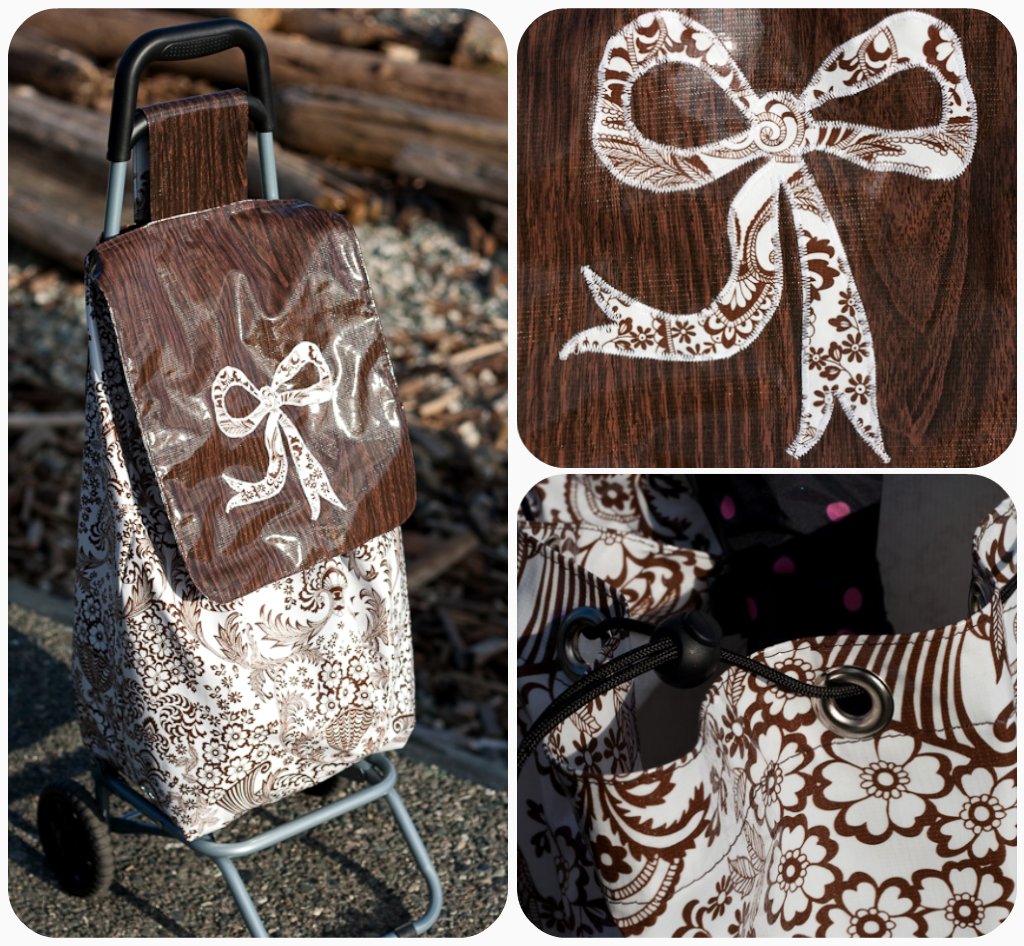
I copied the basic pattern for the shape of the bag from the original, adding a more generous flap over the opening, velcro closures for the flap at two positions, so that the lid stays in place even when full (did I mention it rains a lot here on Vancouver Island?), grommets at the top to help the drawstring closure work smoothly, and a zippered pocket at the back.
- Wrinkles: lay your oilcloth open flat for a couple of hours in a warm room, or if you are in a rush, use a warm hairdryer at a distance of at least a foot to coerce it to flatten out.
- Oilcloth doesn't like irons! Finger press, or use the smooth edge of a spoon to press open seams or crease folds. Really, put away the iron, you will have only yourself to blame for the mess created by thinking that you could use a lower setting or a pressing cloth and then melting your project onto your iron.
- A Teflon foot really helps. Oilcloth is slightly tacky so if you don't have a Teflon foot, you can use masking tape on the bottom of your foot to help your project go smoothly.
- Use a long stitch length (I set my machine to about 2mm) which is less likely to cause rips.
- Pin your project only in the seam allowance, or better yet, use binder clips to hold everything in place, as pins will permanently mark oilcloth.
- For the bow applique, I used some adhesive spray to hold it in place (remember, no pins!), and then zigzagged over the edges.
- In order to reinforce the seams, which could be stressed by heavy loads, I used french seams to sew together the body of the shopping bag.
- When you are designing your project, remember that oilcloth doesn't fray, so you can simplify a lot of designs that would require a finished seam if you were sewing with a woven material.