
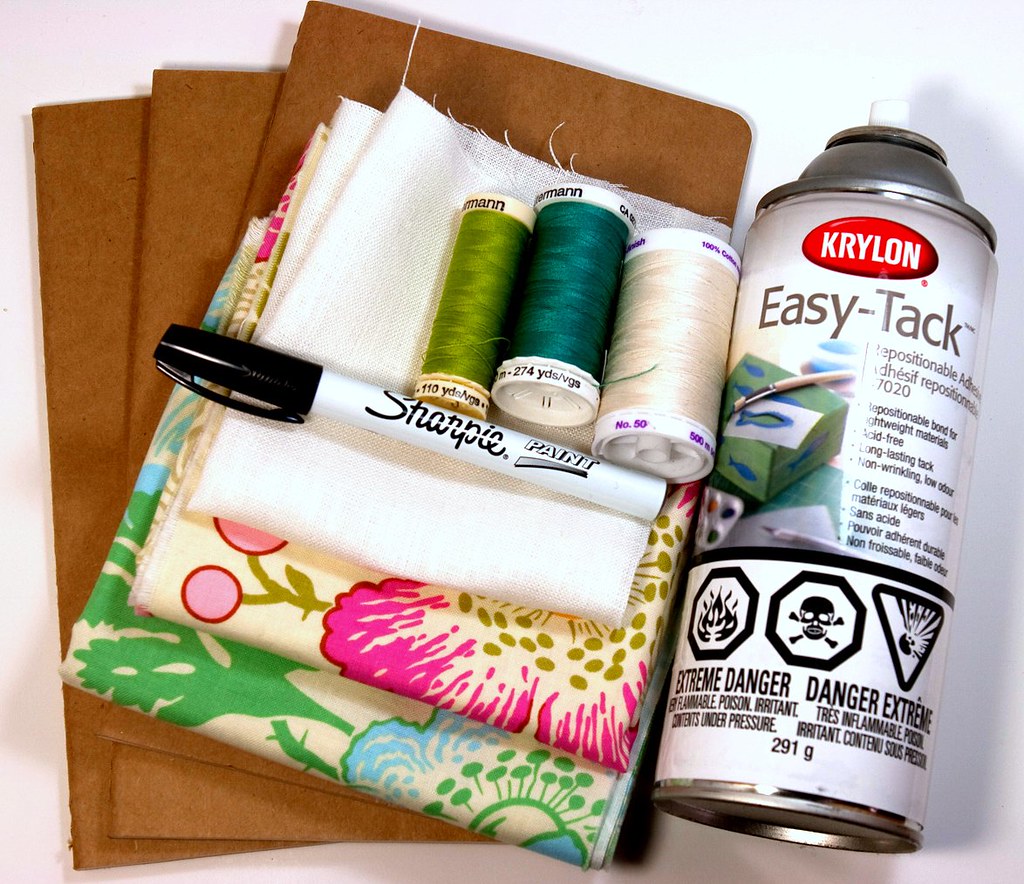
To complete this project you will need some small journals (I used Moleskine 5" x 8 1/4" ruled journals, which come in packs of 3), some quilters cotton or similar lightweight woven fabric and Krylon Easy-Tack repositionable adhesive. I also used some white linen, a Sharpie paint pen and some coordinating thread to make labels for the fronts of my journals. You could also choose another fabric or trim to decorate the fronts of your notebooks.
I cut my fat quarters into 4, each about 11" by 10" which worked perfectly for the books I had. If you are using different sized books, you want to cut your fabric about 1/2" bigger all around than the size of the journals cover.
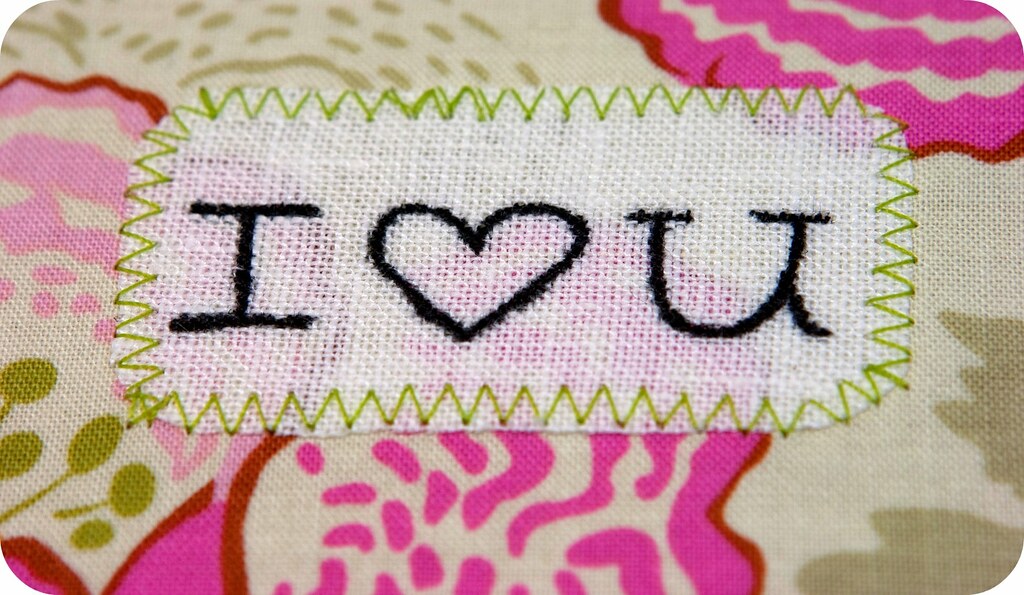
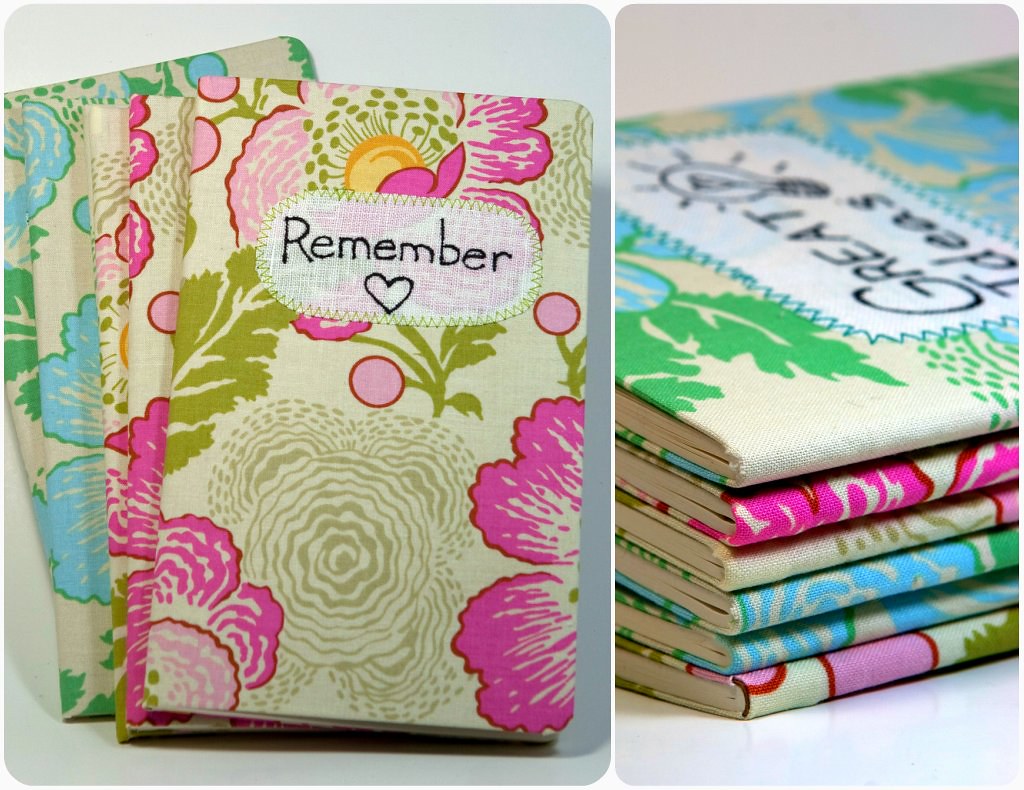
You can customize the fronts of your notebooks like I have by writing on white linen, or other solid coloured fabric, with a Sharpie paint-pen. Cut out the text in any shape you like and sew to the front side of your print fabric with a zigzag stitch in a coordinating colour. Pull the thread ends to the back, hand knot and snip short.
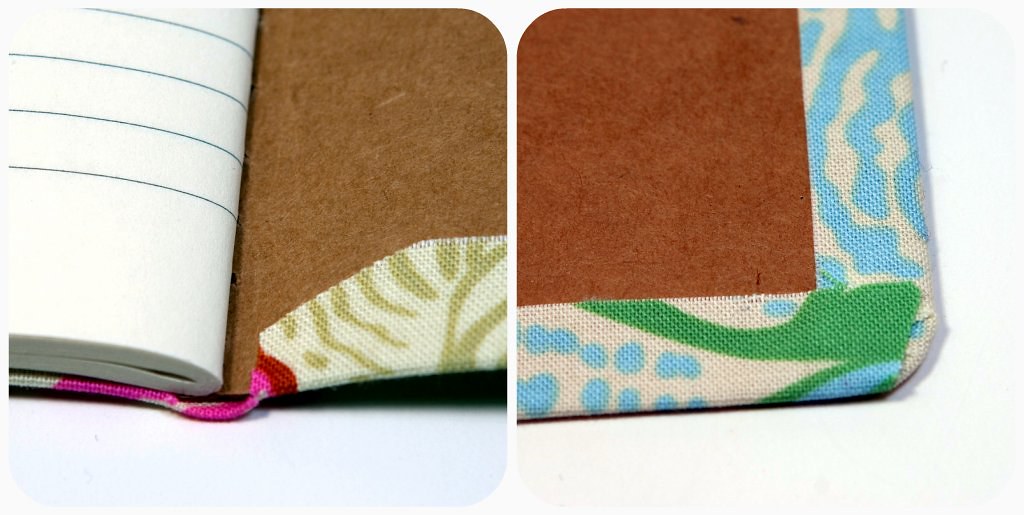 Mark the center line lightly on the wrong side of your fabric with a pencil. Make 2 small snips on either side of the center line, top and bottom, as wide apart as the bound spine of your notebook. Fold and glue these tabs down. Lay fabric right side down on some newsprint and spray the back with the glue. Line the spine up with the center and smooth the fabric down on each side of the cover. If you don't get it right the first time, the adhesive is repositionable, so you can peel back each side and smooth down any wrinkles. Open the book, clip the fabric around the corners. Fold the clipped corners down first, and then the sides for each cover. Done!
Looks easy enough. Super cute idea that can definitely be executed in the next few days.
ReplyDeleteI want to write in a journal (my usual New Years resolution!) and if I cover it in some fabric I love, maybe I'll actually write in it. So maybe I'll make one for me!
ReplyDeleteso beautiful , I'll make in mine notebooks too
ReplyDeleteque lindo , eu amei , estava á procura de algo assim pra fazem em minha agenda , e finalmente achei , thaaaaanks , so cute , loved *-*
ReplyDeleteΓια να είμαι ειλικρινής, δεν διαβάζω και πολύ στο διαδίκτυο, αλλά τα blogs σας είναι πολύ ωραία, συνεχίστε έτσι! Θα προχωρήσω και θα βάλω σελιδοδείκτη στην ιστοσελίδα σας για να επιστρέψω αργότερα. Πολλές ευχαριστίες|
ReplyDelete