
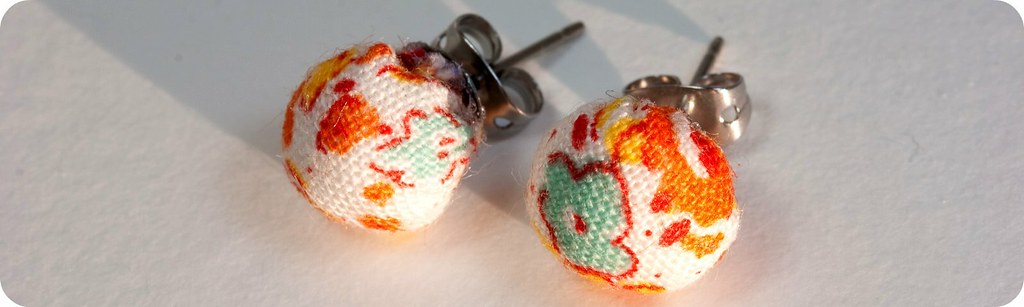
Last year I had the opportunity to travel to Taiwan. The country is an amazing place to visit, with beautiful temples, fantastic natural landscapes and some of the nicest people I have ever met. In the shopping districts in Taipei, there are hundreds of cool little shops, many filled with trendy, zakka-style handmade jewellery, bags and clothing. In one of these, I saw some tiny little fabric earrings. They were so simple and cute, I still don't know why I didn't pounce on them immediately. The memory of these little earrings has been nagging at me ever since, and today I decided to go ahead and make some of my own.
These earrings are a great way to use up little scraps of a favourite fabric you just can't throw away. They work best with tiny prints, or with a really eye-catching solid like an iridescent silk. Of course, if you have a tiny Japanese kawaii print, that would be great too! Along with the fabric, you need a tiny amount of fiberfill or wool roving, a pair of stud earrings, a needle and thread, and some strong craft glue such as E6000. It is best to use earrings that have a "cup" shaped end, instead of a flat surface (see first picture below).
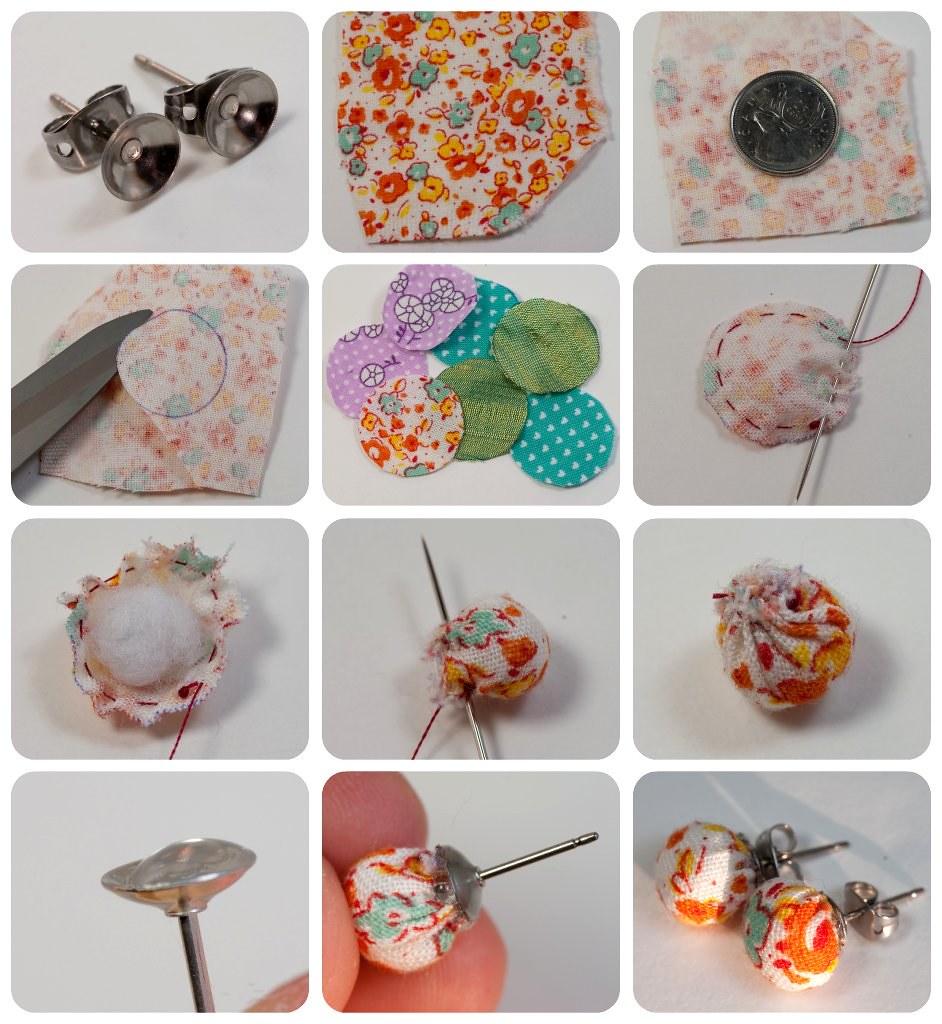
2. Sew a running stitch around the circumference of your circle (you should use a matching thread, I used red to make the stitching clear in the photos).
3. Roll up a pea-sized ball of your stuffing, place in the circle of fabric and pull the thread tight to gather into a ball. Make a few stitches across the gathers to hold the little ball tightly closed. Knot your thread and cut off.
4. Put a tiny amount of E6000 glue on the earring, then carefully attach your fabric ball. Let glue harden overnight before wearing them.
I was considering giving these away but I think I might have to keep them for myself! I really hope you try making yourself some of these. They take only a few minutes to make and are great little accessories.
Love these - super great post w/ a wonderful tutorial. Thx for sharing!
ReplyDeleteAh! So teeny! Great idea.
ReplyDeleteWas just wondering what kind of posts you used. I didn't pay attention when buying mine and they turned green after a few wears.... Thanks!
ReplyDeleteHi Mila, I believe the posts I used for this project were surgical steel posts which they sell at my local bead shop. They don't seem to be reactive, but everyone is different. Sorry about your green ears!
DeleteThanks for sharing, I LOVE these :D
ReplyDeleteKabeh mbukak banget kanthi deskripsi tantangan sing jelas. Mesthi informatif. Situs web sampeyan migunani banget.
ReplyDelete
ReplyDeleteHello there! This post could not be written any better!
ReplyDeleteThis is so much hilarious blog, thank you
ReplyDeleteAnyways thanks for posting ideas.
ReplyDeleteThanks to sharing with us !!!!!!
ReplyDeleteIs really nice and would appreciate thank you.
ReplyDeletethe efforts you made to create this blog. thank you!!
ReplyDeletevery much informative post. thanky youu!!!